- Empty cart.
- Continue Shopping
User Guide
Register Business
Business Setup
Business Settings
Register Business
1. Go to https://halal.bizmatch.my/
2. Click the “Add Listing” button
3. Choose the membership listing
- Business: For All Businesses (Non MPC DPN & DPIM members)
- DPN: For MPC Digital Productivity Nexus members
- DPIM: For Dewan Perdagangan Islam Malaysia (DPIM) members
4. Click the “Subscribe” button for the chosen membership.
5. Fill in all the business information required.
6. Click the “Register” button to register the business.
7. Finally, click “Proceed” and the subscription is successfully completed.
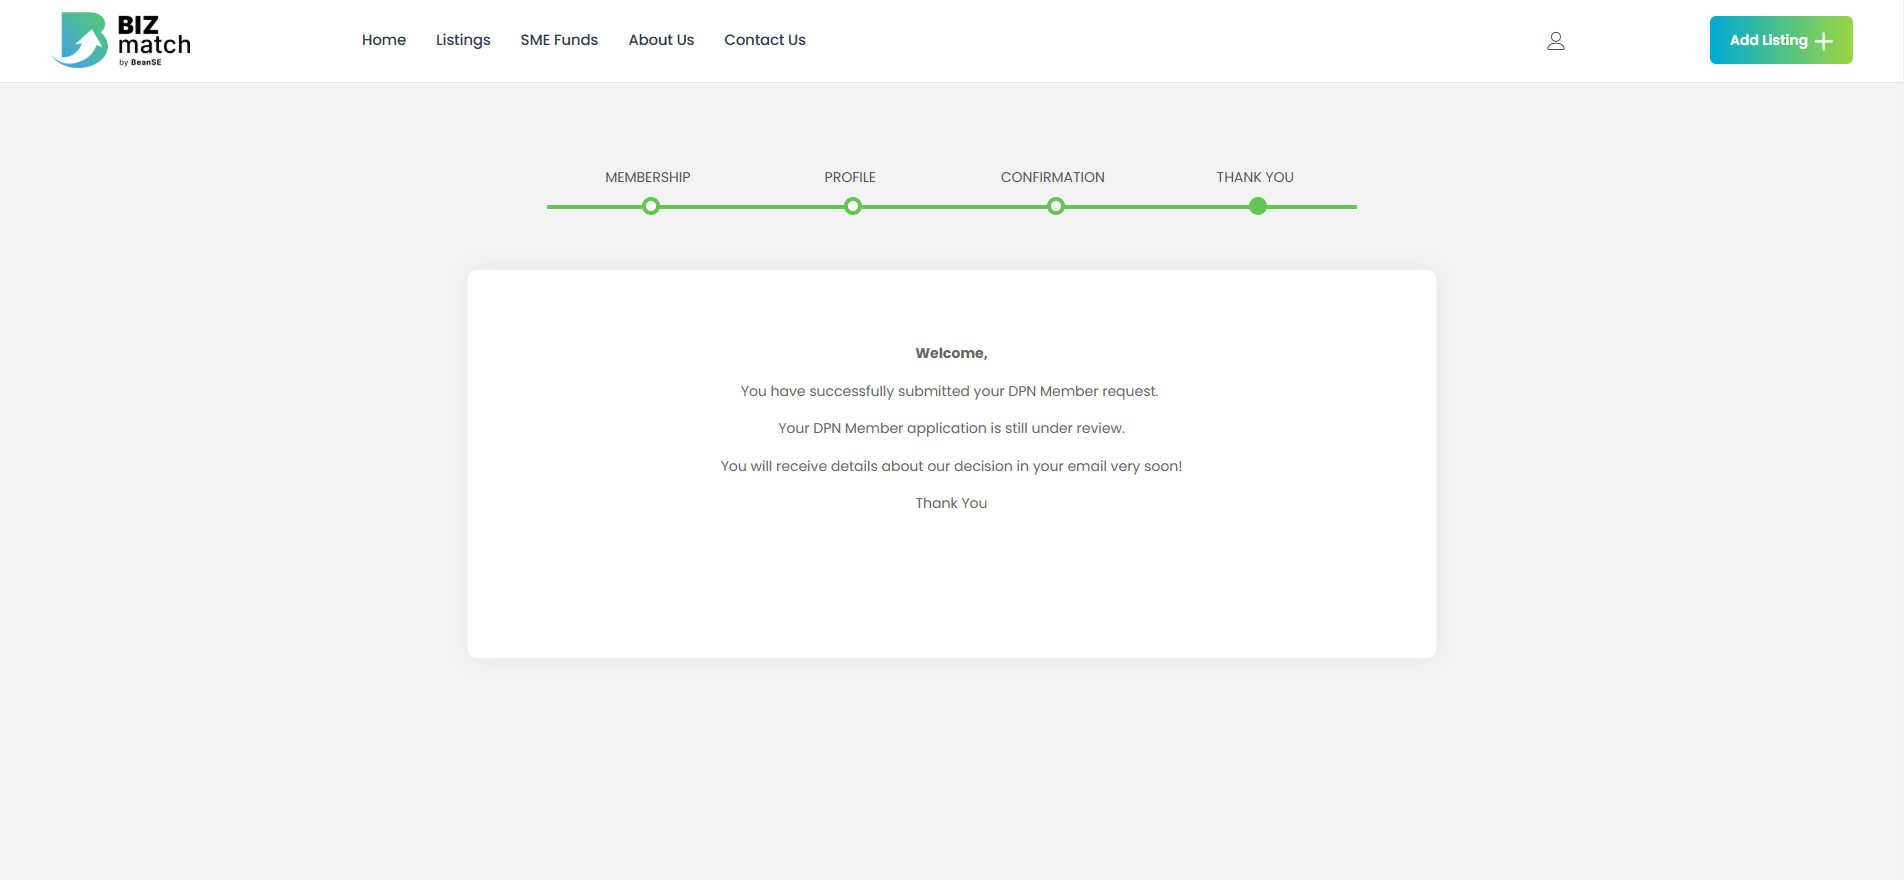
For all member’s registration,
- It will take 2-3 working days to approve the registration.
- You will receive the details about the registration in the email registered.
Business Setup
Set business’s logo.
- Click business logo.
- Click “Select files”
- Choose your business logo photo and click the “Select” button.
- Click business’s banner.
- Click “Select files”
- Choose your business banner photo and click the “Select” button.
- Type the business’s description.
- Click the “Continue” button.
Size Recommendation:
Store Banner: 1650 x 350 pixels.
Mobile Banner: 520 x 200 pixels.
Contact Info Setup
- Fill in all the required details
- Click the “Continue” button.
Business Social Setup
- Enter business’s social media account (If any).
- Click the “Continue” button.
- Finally, you have finished setup your business.
Business Settings
Business Settings
- At the homepage, click the profile icon
- Choose “Business Manager” and it will directly go to the Dashboard.
- Click “Settings”.
General Business Settings
- At the Dashboard, click “Business” to Add/Edit all the business details.
- Set the business visibility.
- Click “Save” to update.
Customer Supports
- At the Dashboard,, click “Customer Supports” to Add/Edit customer support details.
- Fill in the customer support’s phone number, email, company’s address.
- Click “Save” button to update.
Customer Business Hours
- At the Dashboard, Click “Business Hours ” to Add/Edit business hours.
- Check the box to enable store hours.
- Check the box to disable any purchase during off time or leave it blank to allow purchases during off time.
- Choose the off day at the Set Week Off section.
- Set the opening hours and closing hours based on the days.
- Click “Save” button to update.
Vacation Mode
- At the Dashboard, click Settings and then “Vacation Mode”.
- Check the box to enable vacation mode.
- Check the box to disable any purchase during vacation time or leave it blank to allow purchases during vacation time.
- Choose the off day at the Set Week Off section.
- Choose the vacation type.
- Enter the vacation message.
- Click “Save” button to update.